Badgers make you work for it. They surface when the light has almost gone, follow routes they already know, and melt away at the first hint that something in the wood has changed. That is the appeal, and it is also why so many first attempts end in a grey blur and cold feet. Kit matters far less than routine: arrive early, sit still, use light the animals barely register, and let them decide the distance.
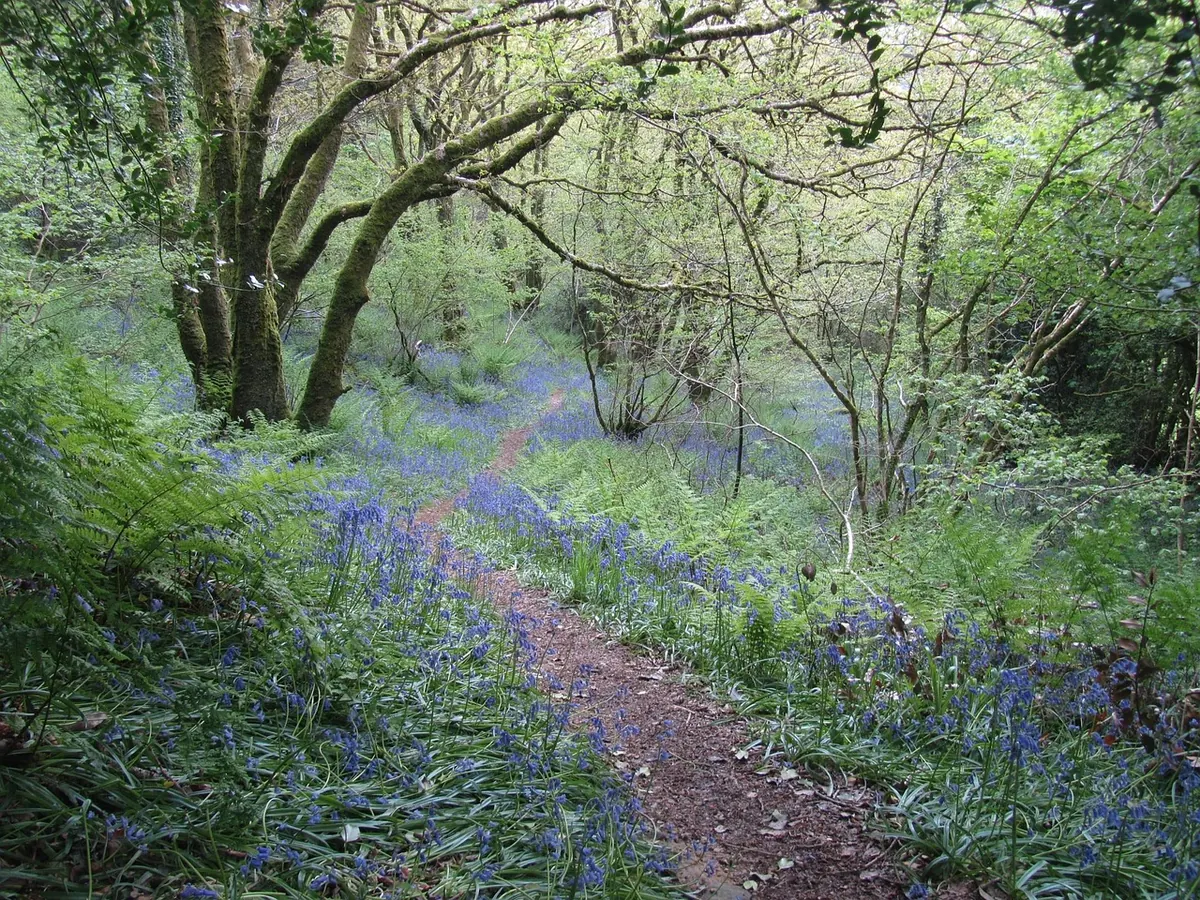
Do the reconnaissance in daylight, and do it from a distance. You are looking for the shape of the place: which entrances are active, where the worn paths run, where the latrine pits sit, whether the sett faces a hedge or a slope. Fresh spoil outside an entrance, well-trodden runs through the grass and discarded bedding all tell you where badgers will appear and which way they will travel.
Stay back from the entrances themselves. Badgers and their setts are protected by law across the UK, and disturbing an animal in its sett or interfering with a sett is an offence. Watching quietly from a sensible distance is a different matter, but if you want to work close, or you are unsure whether what you have in mind crosses a line, ask your county wildlife trust or the relevant statutory conservation body first. If the land is private, get permission and stick to it.
Shoot in manual, in RAW, and expect to push the files. Auto modes chase the wrong thing once the contrast goes flat and the animal is a moving shape against a lighter background.
Aperture between f/2.8 and f/4 is the usual compromise: enough light, enough depth for a badger's head. Stop down to f/5.6 if you are trying to hold two animals sharp. Shutter speed is where you decide whether you want sharpness or atmosphere. A moving badger needs roughly 1/250 sec; a settled one feeding can be held at 1/125 sec with good support. Below that, motion blur becomes the picture's subject whether you meant it or not.
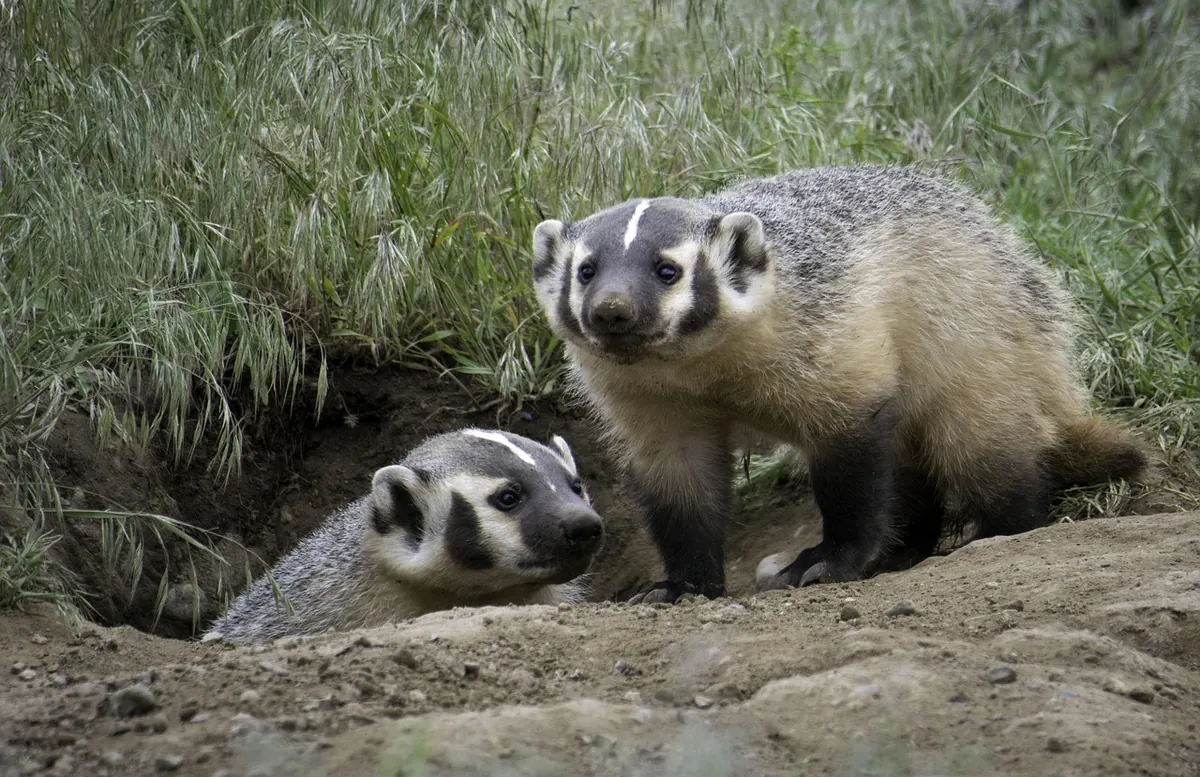
ISO 3200 to 12800 is normal here. Grainy and sharp beats clean and smeared every time, and modern sensors respond well to careful noise reduction. The tricky part is the face: those white stripes blow out long before the dark fur lifts. Switch on your highlight warning and expose so the white is just short of clipping, then bring the shadows up in editing.
Use a single focus point placed on the head, back-button focus, and pre-focus on the spot where you expect the badger to cross. Turn off AF assist beams, beeps and image review — all three are intrusive in a quiet wood. A silent electronic shutter is a genuine advantage if your camera has one. A 200–400mm lens is ideal; a 70–200mm on a crop body works well. Support the camera on a tripod or beanbag at sitting height rather than hand-holding, and use a cable release or a short self-timer.
Badgers have eyes built for dim light, with very little colour sensitivity, and most field photographers find that a dim red beam bothers them far less than white light. Treat that as a working assumption rather than a guarantee. Whatever you use, the principles are the same.
Some evenings you barely need artificial light at all. A silhouette against a still-bright western sky, or a badger crossing a patch of open grass at 1/60 sec with a blown highlight or two, can be a better photograph than anything a torch produces.
Get downwind. Badgers live by scent and hearing, and a shift in the breeze will empty a sett faster than any camera noise. Check the forecast before you leave and pick your position accordingly; if the wind turns while you are in place, accept the loss and go home.
Sit across or alongside a path, never on it, and never between an entrance and the route the badgers want to take. Six to ten metres is usually close enough. Arrive seventy-five to ninety minutes before sunset and settle in before the wood quietens. Anyone arriving at last light, rattling a tripod through the undergrowth, will see very little.
Use existing cover — a hedge line, a fallen trunk, a ditch — and wear dull, quiet clothing. Rustling waterproofs and a bright phone screen give you away. A bag hide works, but leave it in place for a day or two first, with the landowner's agreement. Do not use recorded badger calls to draw animals in, and think hard before putting out food: baiting concentrates badgers, changes their behaviour and pulls them towards roads and gardens, where they get killed. Photograph the behaviour that is already happening.
A settled badger grooms, snuffles, feeds and moves with its head down. A badger that has noticed you does something different. Watch for a mid-step pause with the nose lifted, a long stare in your direction, a slow retreat towards an entrance, or repeated stops and starts along a run. If you see one of those, freeze, dim the light if it is on, and give it ten minutes. If it happens twice, withdraw quietly and try another evening. One lost session is nothing next to an animal that abandons an entrance.
The best badger photographs come from evenings where very little seems to happen. Sit tight, keep the light soft, know when to walk away, and the animals will eventually give you the frame you were after.