A well-placed trail camera gives you a window into sett life you would never get from a hide: cubs tumbling at dusk, an old boar scratching, the nightly housekeeping of bedding. Set it up badly and you get two problems at once — hours of blurred clips of nothing, and badgers that have become noticeably warier about using their own front door. The difference is rarely the camera. It is where you put it, what you leave behind on the ground, and how much light you throw at the sett.
Almost everyone does this first. You find a sett, you want the badgers big in frame, so the camera goes up a metre from the nearest hole. What follows is usually a fortnight of almost nothing, then a clip of a snout emerging, sniffing, and vanishing again.
Badgers lean on smell and hearing far more than sight, and a camera at that range sits inside the space they treat as the sett itself. The faint click as the infrared filter switches, the sudden glow of LEDs, the trace of your hands on the strap — any of these can shift a clan's behaviour, sometimes pushing emergence later into the night.
Set the camera back instead. Three to five metres is a sensible starting point; five to eight metres is better if your lens is wide enough to keep the entrance and the surrounding path in frame. Where a sett has several holes, pick one and stay with it rather than trying to cover everything from a single spot. And never fix a camera to a branch directly over an entrance, block a hole with a mount, or prop anything against the spoil heap. If the sett is on land you do not manage, get the landowner's permission first.
Badgers are low animals. A camera strapped at chest height and angled down gives you a top-down view of a moving back, and an unflattering one at that.
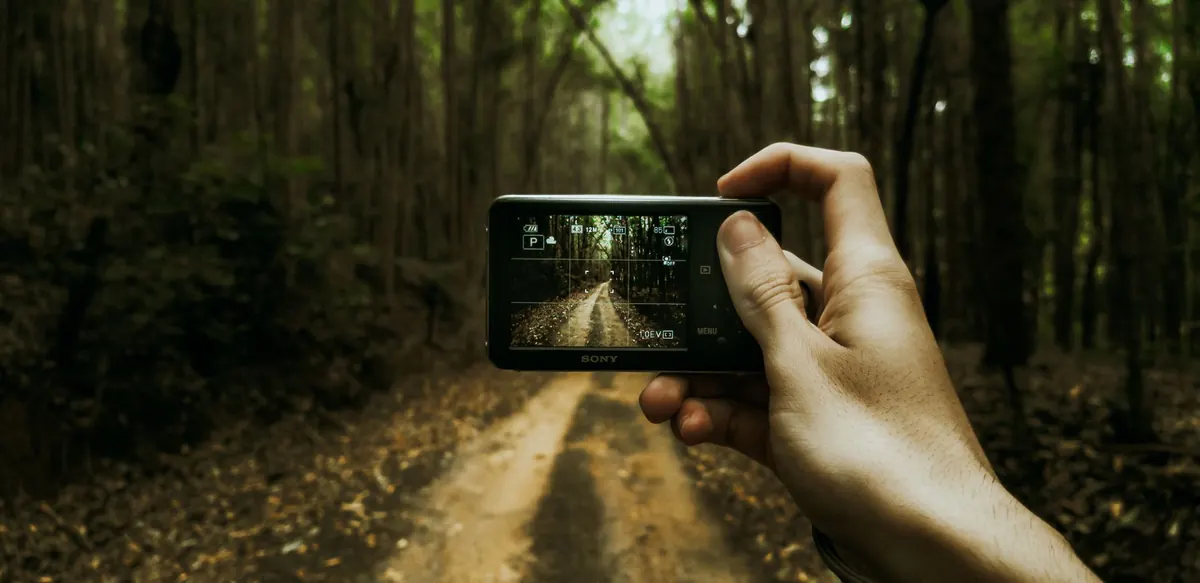
Aim for roughly 30–45cm above ground level, angled gently down so the badger's head and body sit in the middle of the frame. Point it across the route the animals use rather than straight into the hole — that way you catch them coming and going rather than getting a face-full of infrared reflection from the sett mouth. Check the framing in daylight using the camera's test mode, and clear any long grass in the immediate foreground. Wind-blown vegetation is the single biggest cause of empty night-time triggers.
A small marker helps more than you would think. Place a short stick on the ground inside the frame, or note a stone or tussock, and you will be able to judge the size of the animals in the footage rather than guessing.
Badgers can read a sett like a noticeboard. Every visit you make leaves information behind, and most of it is avoidable.
Keep visits themselves rare. With a decent card and a set of lithium batteries, many cameras will run two to three weeks unattended. Checking every couple of days is the most common way people quietly turn a settled clan into a nervous one.
Light is the part most people underestimate. A camera with a white flash will produce sharp, colour night footage — and a very different badger. White flash is sudden, bright and unfamiliar, and it can startle animals badly at close range. If your aim is natural behaviour, use infrared instead.
Where you have the choice, no-glow infrared is the better option at a sett. Standard infrared gives a visible red glow that many mammals notice, and it can be enough to make badgers pause at the entrance. Avoid adding external illuminators, and resist sweeping a torch over the sett on your way in — even a brief flash of light can hold up an animal that was about to emerge.
Position also matters. Angle the camera so the beam falls across the ground rather than into the hole, and keep reflective surfaces such as wet stones or a metal gate out of the frame. On clear nights in open ground, ambient moonlight often does more for your footage than any setting you can change.
Before you decide the camera is useless, spend ten minutes in your own garden testing it on a hedge or a bird table. Most "faulty" units are simply set up for the wrong job.
Badger setts are legally protected in the UK, and disturbing a badger while it is in a sett is an offence. That covers more than digging: obstructing entrances, damaging a sett and certain kinds of interference all fall under the Protection of Badgers Act 1992. If you are unsure what is permitted on your site, speak to your local wildlife trust or the relevant statutory conservation body before you set anything up. Survey work may need a licence, and commercial or research use certainly will.
Timing matters too. Late winter and spring, when cubs first appear above ground, is the most sensitive period of the year. Keep your distance, keep visits short, and if you find signs that a sett has been dug or interfered with, report it to the police and your local wildlife crime officer rather than investigating yourself.
Give it a full fortnight before you judge the results. Badgers are creatures of habit, and a camera that sits still and quiet in a well-chosen spot will eventually be ignored — which is exactly when the best footage starts.
Photo: roy musttang / Pexels